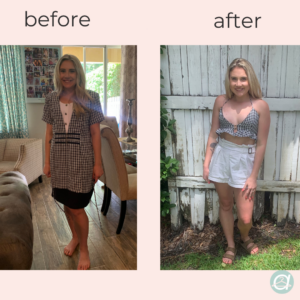
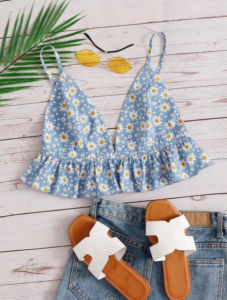
It’s a little over a week away from summer officially beginning but the summer heat has most definitely already started! I decided my wardrobe needed some more warm weather pieces. While I love some fast-fashion looks, I hate the idea of it so i decided to create my own. My inspiration came from this top I found on shein.com
I thrifted the dress I used from Goodwill for $3 mostly because it was gingham… I really do have an obsession. I also purchased this one because I loved the unique snap closure buttons on it, it had a zipper that could be used for a later project, and it was large enough to get a couple projects out of it.. It seemed like a bargain to get all that for such a low price so I couldn’t pass it up.

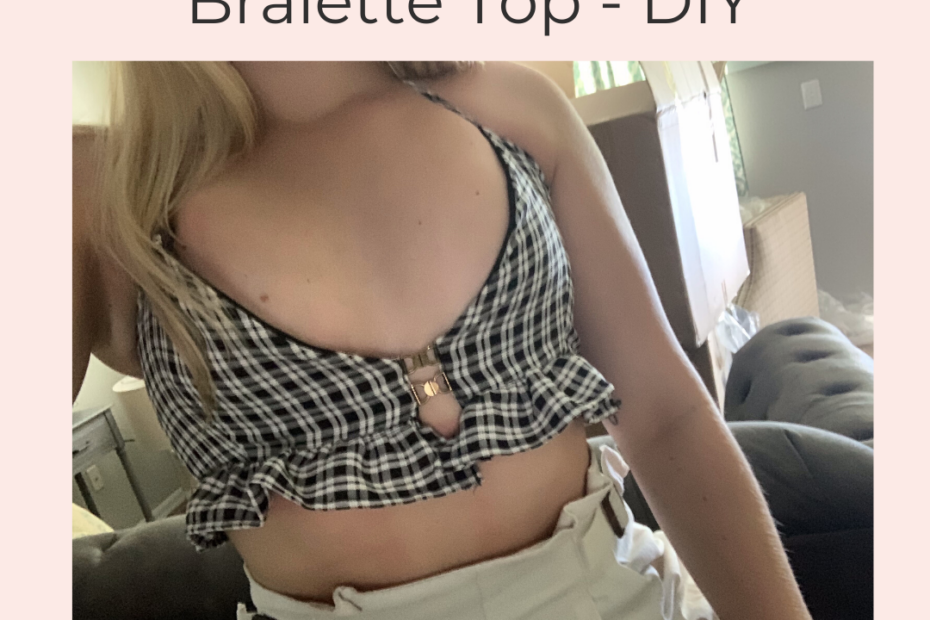
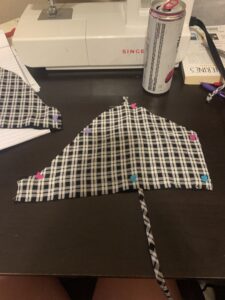
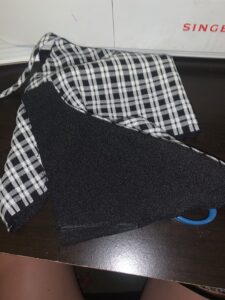
As per usual, my journey began by ripping everything apart. I just used scissors this time because it was more time efficient than seam ripping it all. I then cut out the bralette pieces by tracing an old dress I had. It ended up being about 8 inches across and 6 inches tall. I just out two pieces out of the gingham and two black pieces to be the lining out of what used to be the lining skirt of the dress.
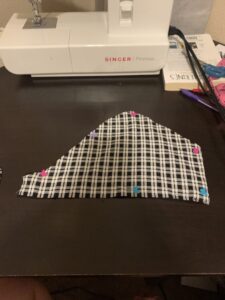
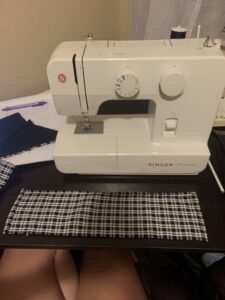
My next step was making the straps. I cut out a strip that was about an inch in width and 30” long. I then folded it longways and pinned it down and sewed along the raw edge. To flip it the right way, I attached a safety pin to one end and snapped it through.
I then placed the lining and gingham piece of the bodice right sides together and sandwiched the strap I just made in between like so:
I sewed across all sides and left the bottom open. I then turned it the right way by simply pulling the strap out.
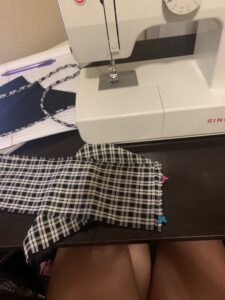
I then sewed in darts by folding the bodice piece in half at the middle of it. I marked a point on that fold about 3” up and another point ¾” from the fold. I drew a straight line connecting those two points and sewed along it.
After those steps were taken for both bodice pieces, I next moved on to making the back panel. I took my measurement around right below my boobs and subtracted the length of the bodice pieces from that. I also measured the length of the piece where the pack panel would connect which was about 3”. Using those measurements I cut out a rectangle and added a ½” seam allowance to the top and sides. I then hemmed the top and sides of it by folding it under twice and sewing a straight stitch.
To attach the front and back, I placed them right sides together and sewed them together.

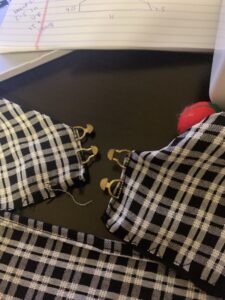
After that I hand sewed the clasp closures from the original dress on to each side of the bodice pieces where it would connect.
To make sure the bottom of it wouldn’t fray, I added a zig zag stitch.
My next step was creating the ruffle. I used a technique I learned for the Youtuber WithWendy which can be seen in this video: Easy DIY Gathered Skirt (+bonus Etsy field trip!) | WITHWENDY
First,I cut out a new rectangle doubling the length of the top. I then sewed two parallel straight stitches and gently pulled on the two top threads to gather it until it was my desired length.
After that, I hemmed the ends and bottom by folding it under twice and sewing across it.
I then attached the ruffle to the bralette by pinning it right sides together and simply sewing it down.
That is it! I know this one seems like a lot of steps but it was really a simple way to make a cute summer top. I actually ended up wearing it out that same day to lunch with my mom and received so many compliments.