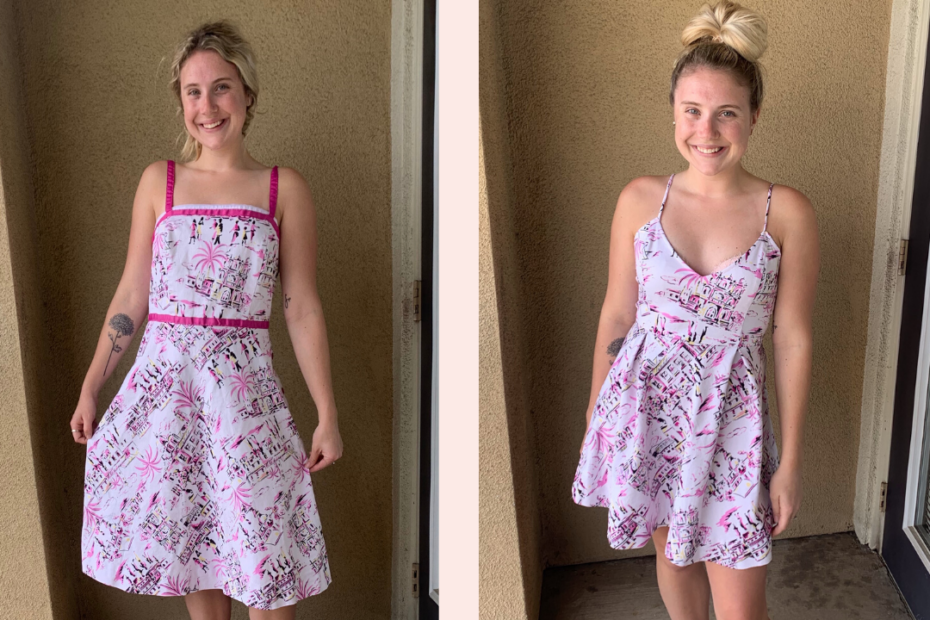
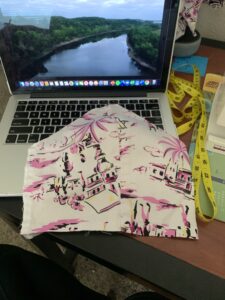
Sometimes I see clothes from the early 2000’s and I can’t help but question what was going through the designers head. This dress from Dressbarn definitely needed a little TLC to get it back to being in style. I have no clue why the hot pink ribbon was even put on the dress however, I fell in love with the pattern on it and could not wait to make a new piece to wear this summer.
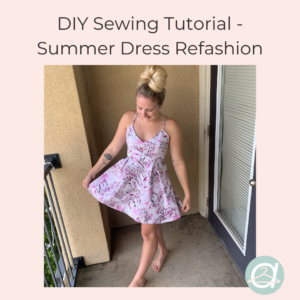
This DIY sewing tutorial will show you how to refashion an oversized dated dress into this cute flowing summer dress. Adding some new seasonal pieces does not mean you need to break the bank and this is my favorite way to do it.
The supplies I used are as follows:
-
Sewing machine
-
Seam ripper
-
Scissors
-
Seamstress chalk
-
Pins
-
Tape measure
-
Safety pin
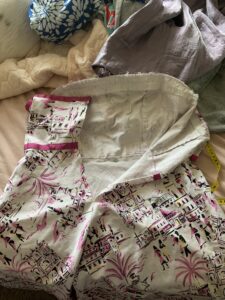
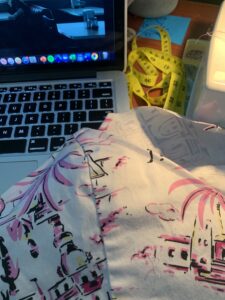
I started this project by seam ripping out the lining from the bodice, removing the zipper, and clap closure
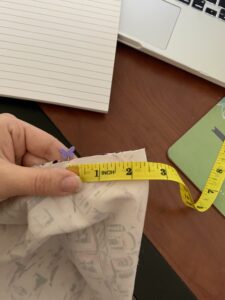
After it was deconstructed, I measured out from my hips to desired dress thength. Taking that number I added 1’’ for seam allowance and marked that out from the bottom of my dress. I cut where I marked out and sew my skirt piece aside.
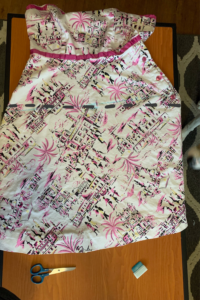
I then seam ripped the bodice from the remainder of the skirt and seam ripped the back panels of the top portion from the bodice. I next cut the bodice down the middle to make two separate pieces. After that I draped a piece on my body to figure out how I wanted to shape it. I decided to make it a v-neck shape and also cut it at a diagonal on the outside as well to get a better shape around the armpit and have a lower back.

After I marked it out using my chalk, I cut out both pieces.
Once that was done, hemmed my cuts by folding it over twice and straight stitching.
I then pinned the bodice pieces right sides together and sewed it down to attach it.
My next step was attaching the back panels back on. I did this by trimming the height to fit the bodice and took my chest measurement to figure out where I should cut the width making sure to leave room for seam allowance. After it was cut to the right measurements I hemmed the top using the same method as before and attached it to the proper location by placing it right sides together and sewing it down.

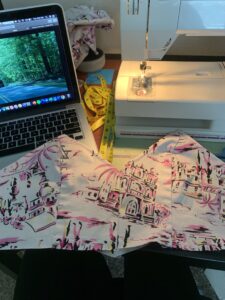
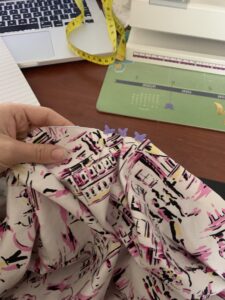
Now that my top portion was pretty much complete, I moved onto the skirt. I but it on and measured out how much extra length I had. I ended up having an extra 21”. To make fit my waist I decided to add 4, 5” pleats to give it that flowy look. Next, I seam ripped the rest of the back of the skirt open. I then laid the skirt and top out to figure out where I wanted the pleats. I marked out where the darts would it on the skirt and marked the same distance for the pleats on the back.
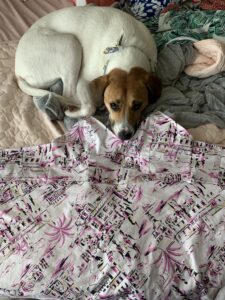
My pup was also being very cute and wanted to get in the picture.
To make my pleats I marked out 2½” from the point I marked and folded it there. I then pinned down the fold where my original mark was.
I then opened the fold and and pinned down the material that was being taken off the waistline.
I sewed them in place by ding a straight stitch across the entire waistline.
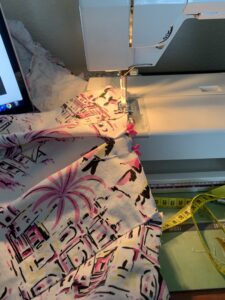
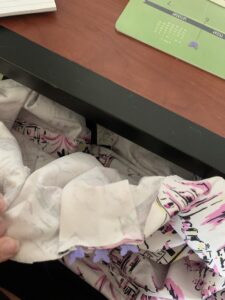
After that was done, I attached my bodice to the skirt, pinning them right sides together and sewing across that with a ¾” seam allowance.
I then sewed the zipper in place and closed the remainder of the back. After that was done, I hand sewed on the clasp at the top of the zipper.
My final step was making straps. I cut out two strips 13” x ¾”. I folded it in half longways right sides together and sewed along the edge. I flipped it the right way by attaching a safety pin to one end and snaking it through the tunnel. Finally attached it to the dress from the top of the triangle to 2” from where the zipper was.
This was such a fun way to make an old dress wearable again and I am so happy with how it turned out! This casual dress DIY tutorial is not as difficult or intimidating as it may seem. Following this step by step upcycle tutorial that I put together is a great way to update your summer wardrobe.