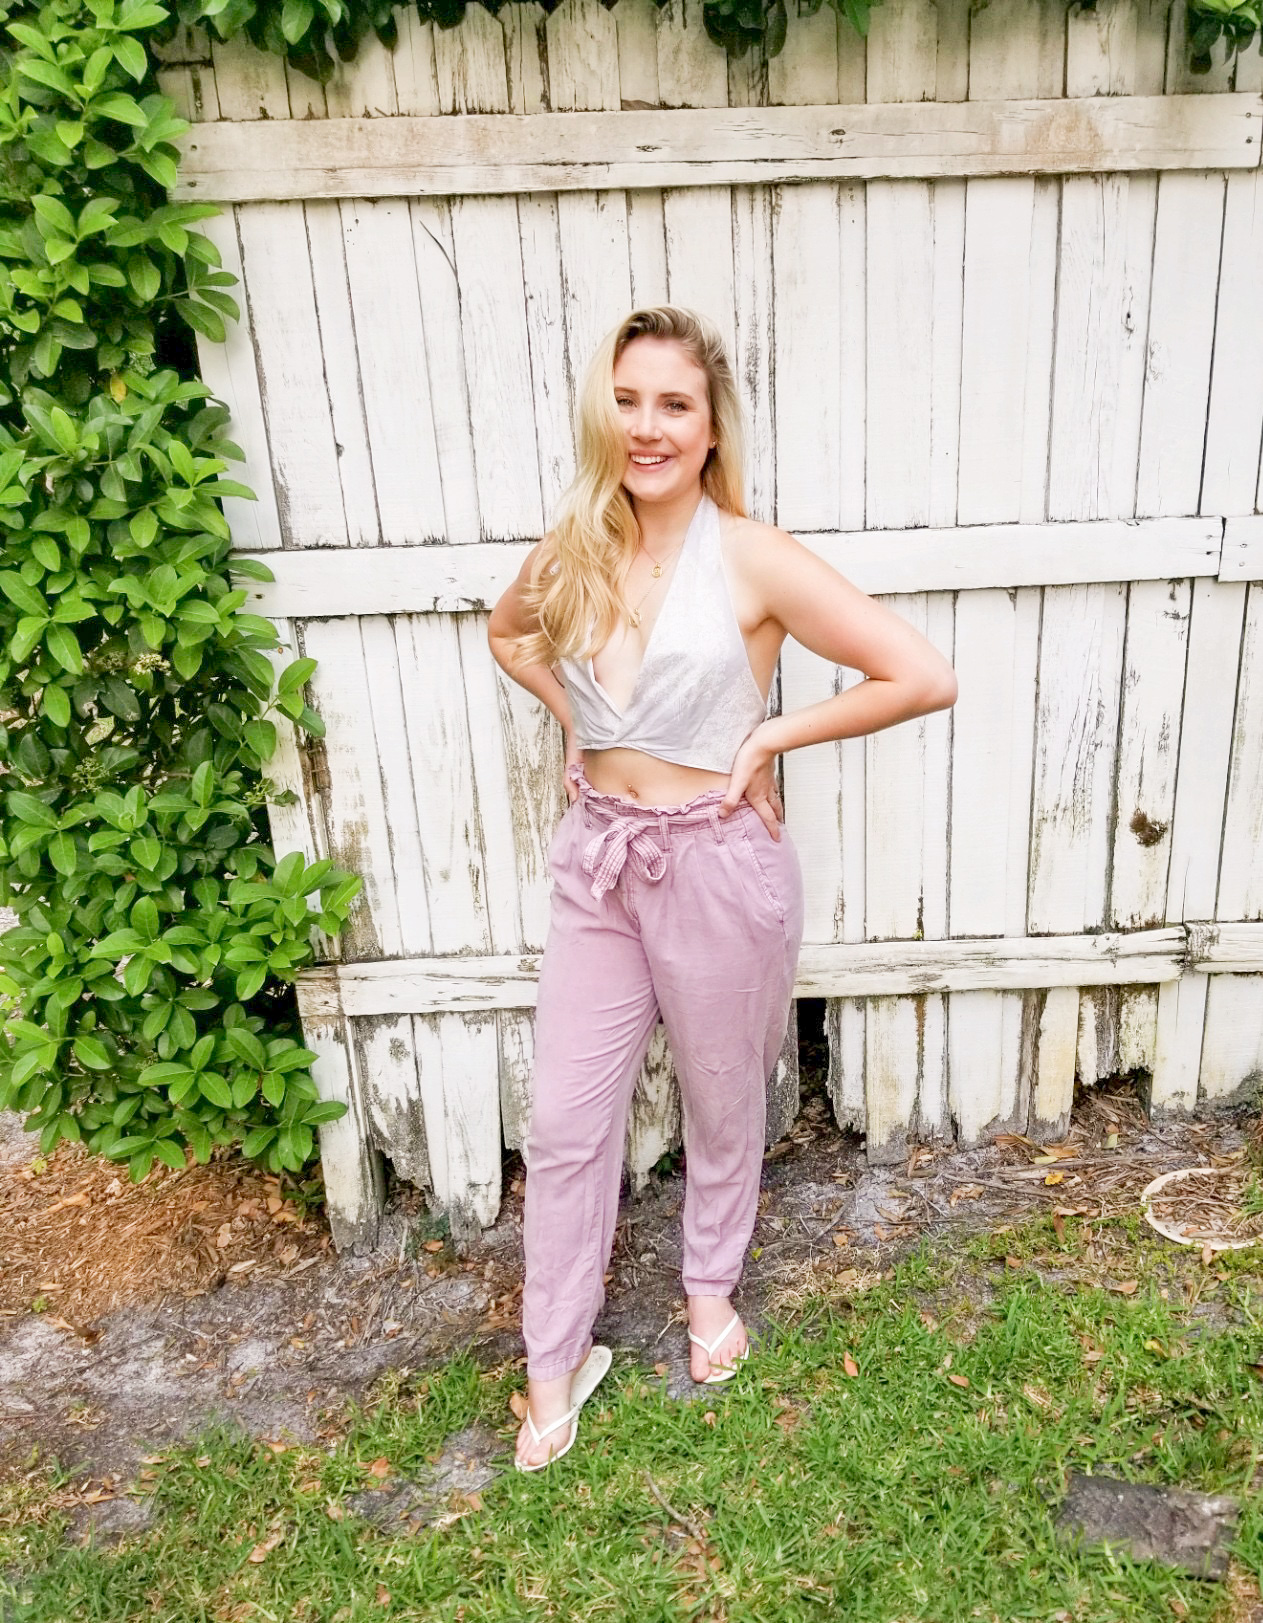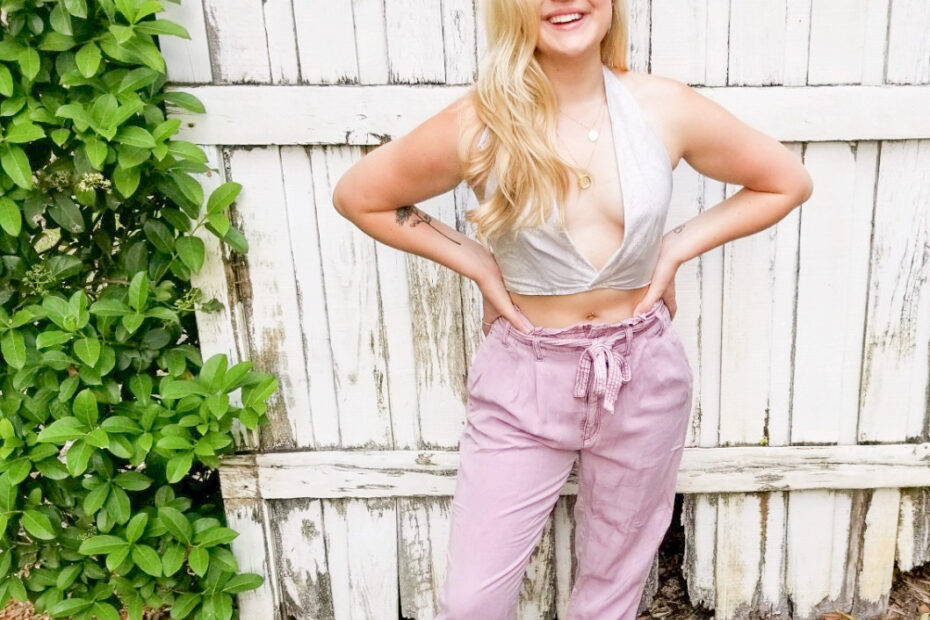
In Corona quarantine I’ve had a lot of extra free time, so what better opportunity to work on some sewing projects? The only downside is that I can’t thrift for new materials or pieces to flip – but after going through the linen closet, I found some items that could be of use. The top I made today came from a pillow sham – flipping household items may be an issue because my linen closet might be empty by the end of this quarantine! Here’s a tutorial on how to make this super cute halter top.
I started out by seam ripping apart the pillow sham and was left with three pieces. If you also use a pillow sham for this project, I would definitely recommend seam ripping instead of cutting in order to get the most fabric out of it. I also found it very helpful to iron out any wrinkles in order to make sure your pattern lays as flat as possible – I actually was able to use a flat iron to do this!
The next thing I did was draft my pattern. Because this top does have tie straps, these measurements can be used for a lot of different body types. The only thing to consider changing is if you have larger breasts to add a couple inches to the length to make bigger darts. I am a B cup so my darts were smaller.
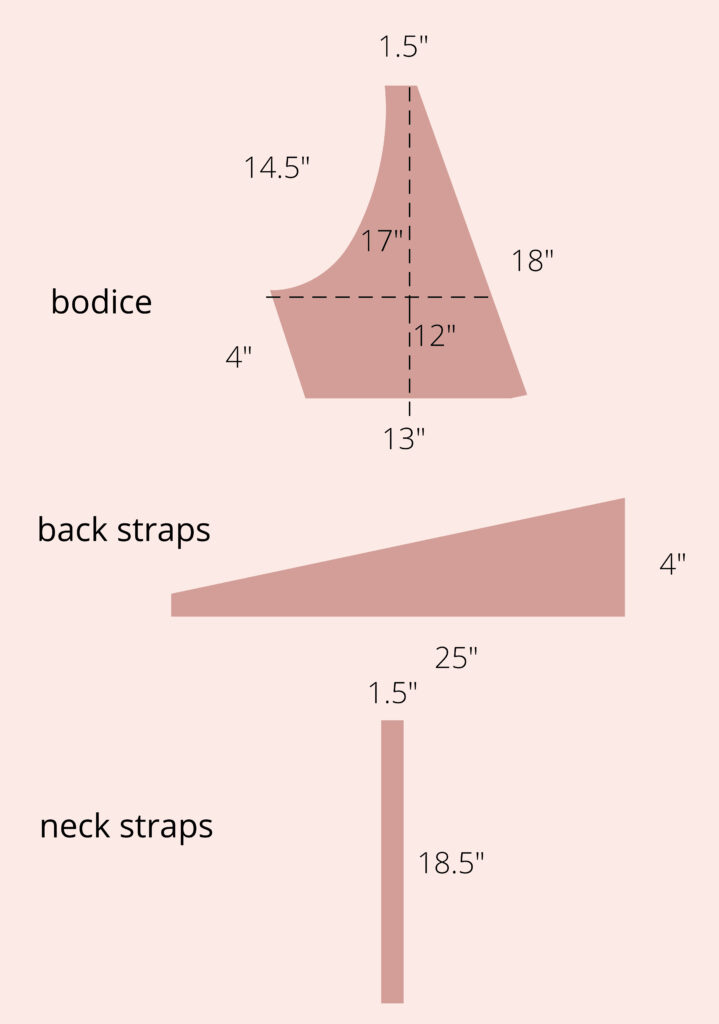
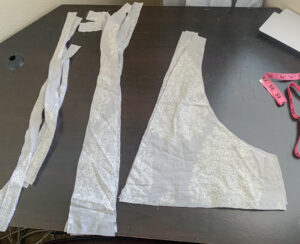
Once you have all your pieces cut out, it should look something like this with four of each.
Next, I made my darts. On the wrong side of the fabric and using a washable fabric marker, I drew a 4” straight line down from where my nipple would line up. I then folded it in half at that line and marked out ¾” from the fold and drew a straight line from that point to the top of the 4” line on the fold. At this point it should look something like this:
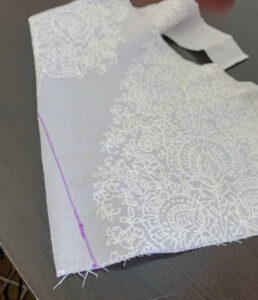
Sew on that line attaching the two sides on the fold. This creates a 1 ½“ dart with a 4” height. Do this step on all four bodice pieces. Make sure you are doing it so you will have it lined up to have two front pieces and two lining pieces.
I then attached the front pieces to the lining pieces. Place the two pieces right sides together with the darts lined up and sticking out. Sew a straight stitch along all the sides and leave the bottom open. Then, flip the two bodice pieces to the correct way.
The next step I took was making the straps for the ties that go around your neck (the halter) and the ones that will tie around your back. You can do this by placing two of the pieces right sides together and sewing along the two long edges. Flip them the right way by attaching a safety pin to one end and snaking it through the tunnel. Finish the ends of them that will be tied by inverting the end and doing a small stitch to close it.
Now that all of the pieces are separately constructed, iron them so that they are clean and flat so it is easier to attach the parts.
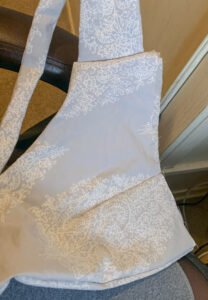
I then took each strap and attached it to its correct placement. Do this by placing them right sides together and sew along that edge. You will notice that the bodice piece will be longer than the strap and looking something like this:
The next step is cleaning that up and finishing the bottom. You are going to invert the bottom by turning the raw edges inside. I pressed it with my flat iron at this point so it would stay that way. Then, overlap one bodice piece with the other by about 3” and pin it in place. Either sewing pins or safety pins work for this!
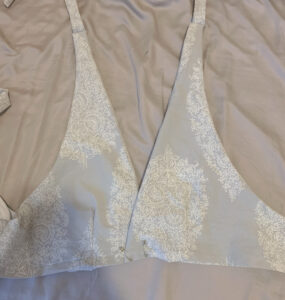
Sew across that which closes the bottom pieces and attaches the top all together.
Congratulations, your halter top is now done! Email us pictures of your top or use the hashtag #alterie to share on social media. We would love to see your work!