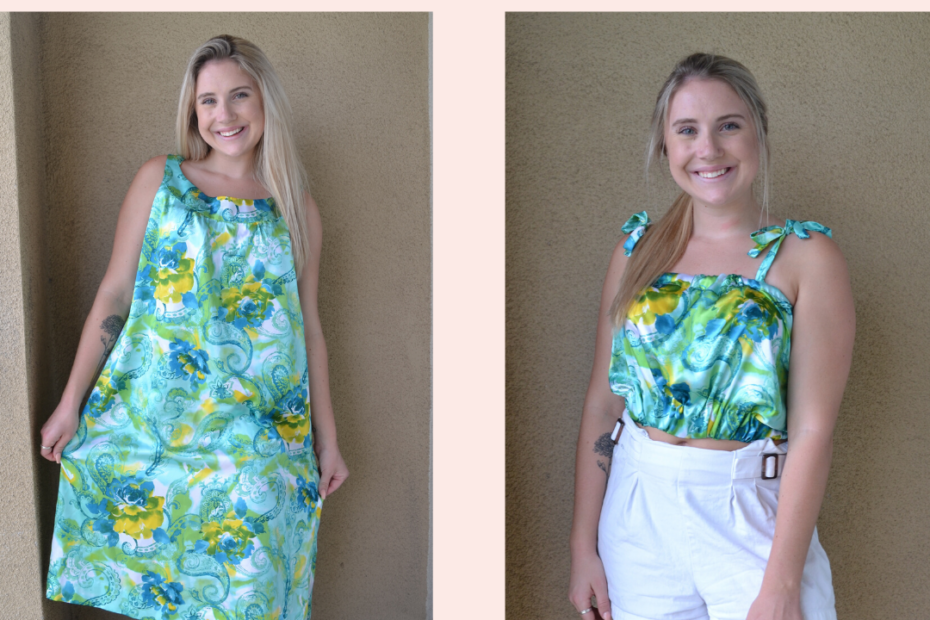
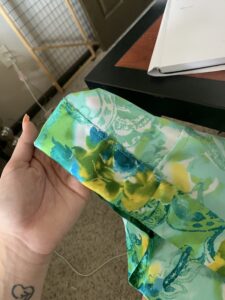
I was recently gifted a bunch of thrifted dresses for my birthday with the challenge to upcycle them. This green silk dress was included in the gift and to be honest I was intimidated to start any project on it. I had never worked with silk before and I didnt want to ruin this gorgeous fabric. After letting it sit in my “project” section of my closet a couple of weeks I finally decided to upcycle it.
I decided to do a bubble tank top that would be loose and cool in the southern summer heat. A bubble top is a baggie blouse that is fastened with elastic top and bottom to give it a bubble look.
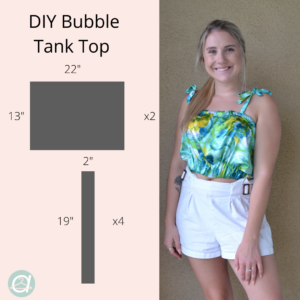
To start this off I drafted my pattern. To get the bodice I measured my bust which was 34” and then divided that in half giving me 17” and added about 7” for the loose fit to get 24”. I then measured how long I wanted my top to be and got 13”. For the straps I decided to do 2” for the width and 19” for the length to make sure I had enough room to tie them at my shoulders. This drafted pattern includes seam allowance. You will need to cut out 2 of the bodice pieces which ended up being 24”x13” and 4 of the straps which were 2”x19”.
After that was all cut out, I started by attaching the front and back panels by placing them right sides together and sewing down each side. I then went down the raw edges again with a zig zag stitch to make sure they wouldn’t fray.
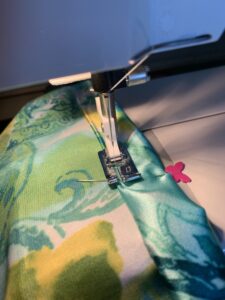
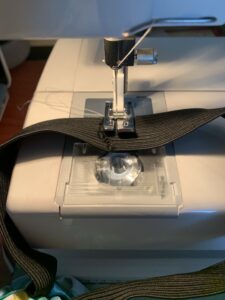
Then, I moved on to hemming the top and making a tunnel. I was going to insert a 1” elastic so I folded the raw edge over once and then again leaving a 1” tunnel where the elastic would go. I sewed that down with a straight stitch and left a gap where I would insert the elastic.
After that, I measured my elastic around my bust so it would fit snug and cut it to that length.
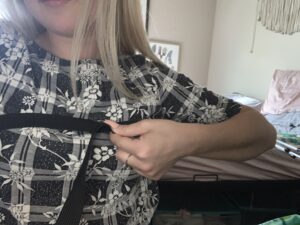
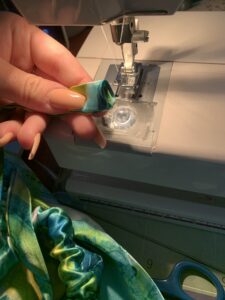
I attached a safety pin to the elastic and snarled it through the tunnel.

Once it was through I joined the elastic ends and sewed them together like so and then closed that gap I left.
Next, followed the same steps for the bottom but with a 1¾” elastic because I wanted a thicker look for that area. Since I cut my pattern piece from the dress, it was already hemmed at the bottom. I seam ripped open a small portion to insert the elastic.
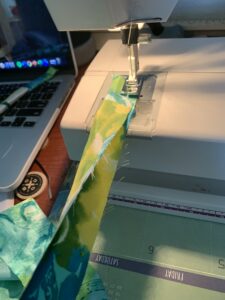
Once that was complete, I moved onto the straps. I folded them each in half long ways, right sides together and sewed along the edge.
After sewing all 4 of them, I used my flat iron to press them.
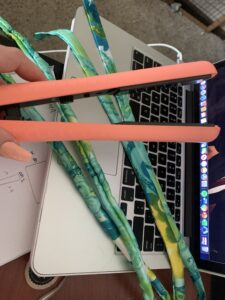
After they were ironed, I closed each end by tucking the raw edge in and sewing across.
I then attached each strap where I wanted them and my top was done!
I am so happy with how it turned out and can’t wait to wear it to a cute picnic or something this summer! Be sure to follow us on instagram @alterie.co to stay up to date with all of our thrift flips!

This is so awesome! Gosh I wish I had your skills
Comments are closed.