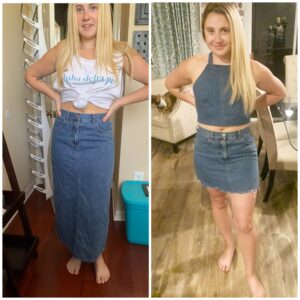
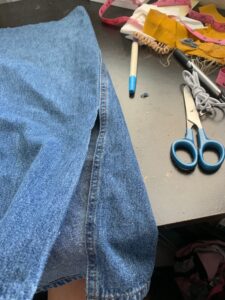
I recently scooped this long denim skirt from Goodwill for $4.98 with the hopes of converting it into a two piece set for the summer. After I brought it home and washed it, I found it to be a bit too small for my liking so I ended up gifting the finished product to a friend. I also recommend investing in a denim needle for this. I learned the hard way and broke two ball point needles before going to the store to pick some up. This set was a learning experience for me and so much fun to do.
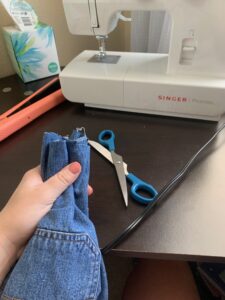
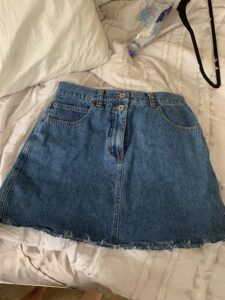
I started out by putting it on and marking with a white pencil how long I wanted the skirt to be and then cut across at that line. I then distressed the bottom of it by bunching it up and vigorously rubbing a pair of opened scissors on it. This technique can also be done with a cheese grater and is actually a lot more efficient that way, I just didn’t have one available. Once it is washed it gets even more of that distressed look.
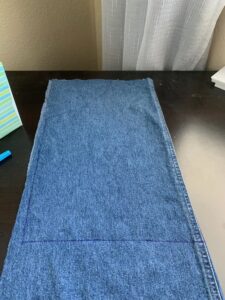
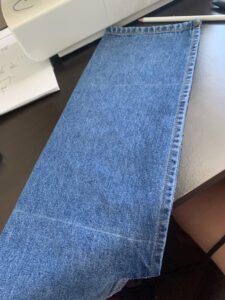
I then laid down the remainder of the skirt and cut the front and back apart.
I folded one of the panels in half so I was able to cut on a fold to make sure my top was symmetrical. To decide where to cut my shirt pieces, I laid down a top I already own to figure out the length. I decided I wanted to do a high neck so I drew it up higher than the top I was using to trace. I also added about 1.5” to the length to account for darts and added about an inch to each side for seam allowance.
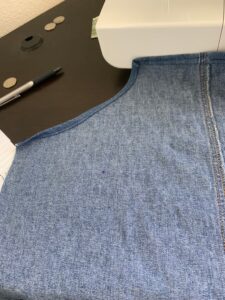
My next step was hemming the top and armpit curved sides by folding it under twice
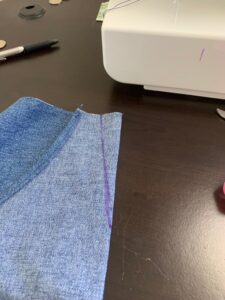
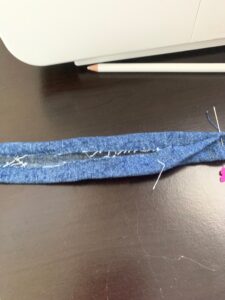
My next step was adding darts. I did this by draping the top over myself and drew a dot where my nipples lined up. I then folded the top at that point and marked out ¾” from that fold and drew a straight line from there to my nipple dot. It should look something like the picture below. I then sewed across that line.
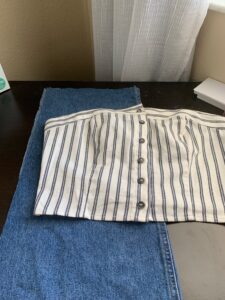
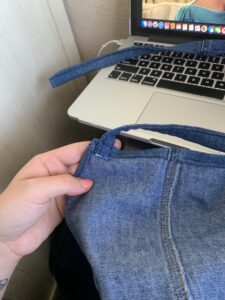
Once that was done I decided to take a lil break and this was the stage I was left at.
Once I decided to get back to work, I hemmed the bottom.
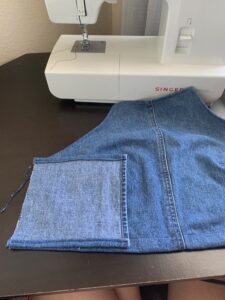
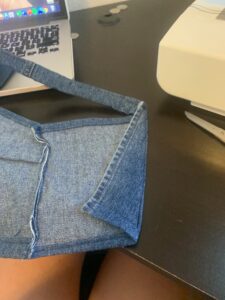
My next step was making two side panels to attach. I wanted to have an open tie back so I measured out the length I needed and and width with enough room to have that open back. I traced that out and cut out two pieces.
I then hemmed the top and bottom of those. I attached them by putting the shirt and side piece right sides together and sewed along that.
To make the straps that go around the neck, I cut two long strips and folded the edges in and then in half and pinned it like that. I sewed along that edge to close it. I had to do it like this because the denim was too thick to loop turn. I then attached it onto the top where they belong.
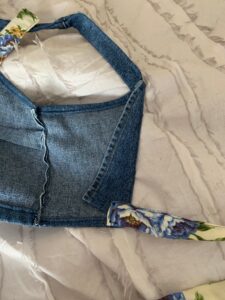
I then crossed them and attached them to the back. Note, this is where I made a mistake. I attached them straight on down to the back when it should have been done at an angle. Because of this mistake I then had to modify the back my folding in both side pieces and sewing it down to be at an angle. I took them in and stitched it down in a triangle.

My next and final step was making straps to tie in the back. I decided to do this with a cute floral print that matched that I had because I didn’t think denim would tie in a nice bow. I decided to also make them extra long so they could also cross and be tied in the front if desired. I made the straps by using the same method used to make the neck straps and attached them to the bottom of the back.
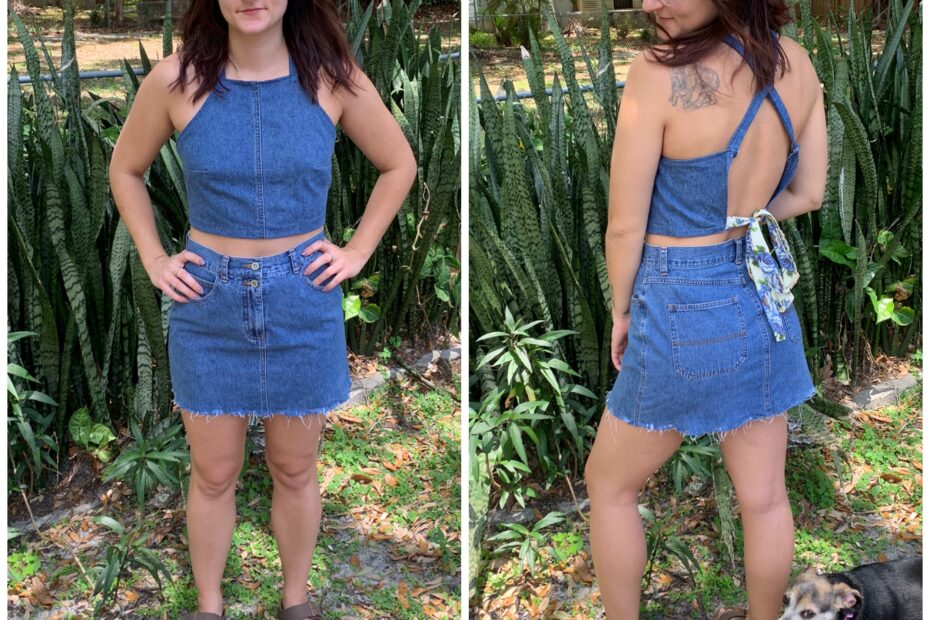
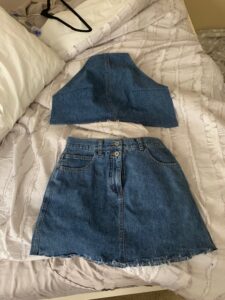
The whole set was now complete so I gave it a wash and gifted it. The picture below is me in it before and after! I am so happy with how this set turned out and it can be worn separately or together.